Introduction
Welcome to the fascinating world of EVA Foam, a versatile material that has revolutionized the realms of cosplay and prop-making. Lightweight, affordable, and incredibly malleable, EVA Foam can be transformed into almost any material you can imagine. Whether you’re a beginner or a seasoned artist, this guide will walk you through the essential techniques and tools you’ll need to master EVA Foam crafting.
Tools and Materials You’ll Need
To get started, you’ll need some basic tools and materials:
- EVA Foam sheets (4mm and 6mm thickness recommended)
- Plastidip for sealing
- Contact cement or hot glue
- X-acto knife and extra blades
- Heat gun
- Dress form or mannequin
- Glue gun
- Saran Wrap
- Painter’s tape
- Oak Tag or cardboard
- Sharpie, pencil, scissors, and ruler
- Needle point tracing wheel
- Upholstery foam scraps or makeup sponges
- Disposable paintbrushes
- Gloves
- Cutting mat
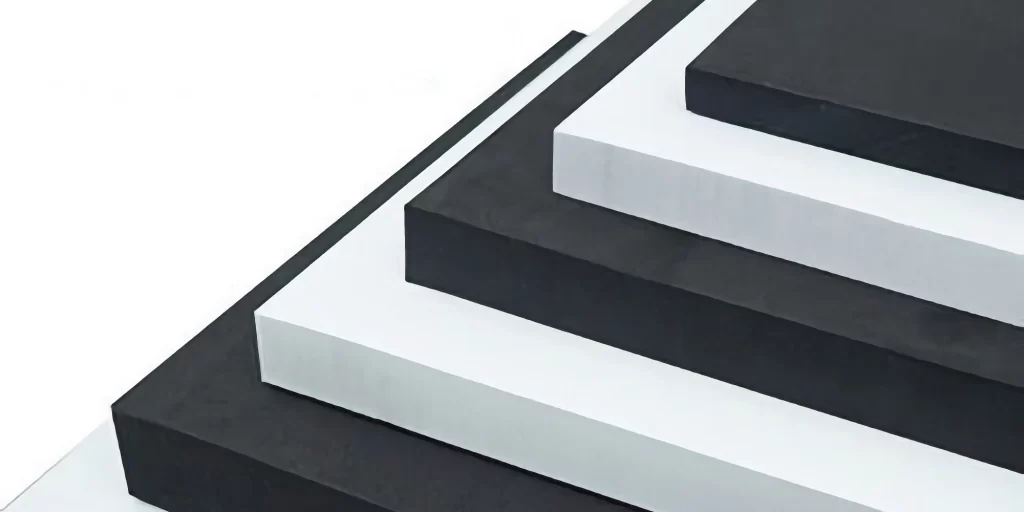
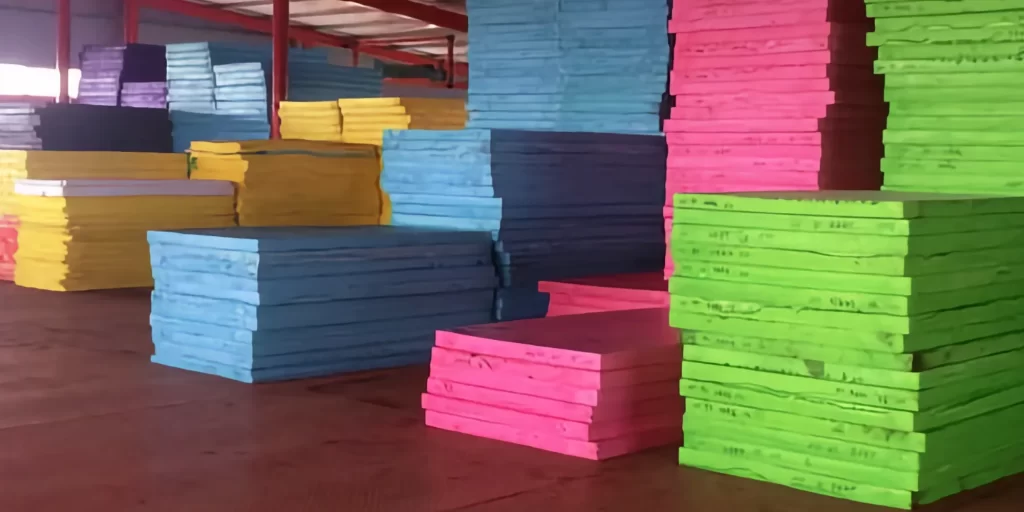
Types of EVA Foam
EVA Foam comes in various forms and thicknesses, each with its unique properties. From textured tiles for flooring to smooth craft foam sheets, understanding the types of EVA Foam will help you choose the right one for your project.
Crafting Techniques: Patterning and Cutting
Patterning is a crucial step in EVA Foam crafting. You can use paper mock-ups or the tape and saran wrap method to create patterns. Once you have your pattern, trace it onto your foam and carefully cut it out using a sharp X-acto knife.
Heat Shaping: Bringing Life to Your Creations
Heat shaping adds depth and dimension to your foam pieces. Use a heat gun to soften the foam before shaping it with your hands or other objects. This technique is especially useful for creating intricate shapes and curves.
The Art of Gluing
When it comes to bonding EVA Foam pieces, DAP Weldwood contact cement is highly recommended. It’s essential to apply the glue carefully and allow it to dry before sticking the pieces together.
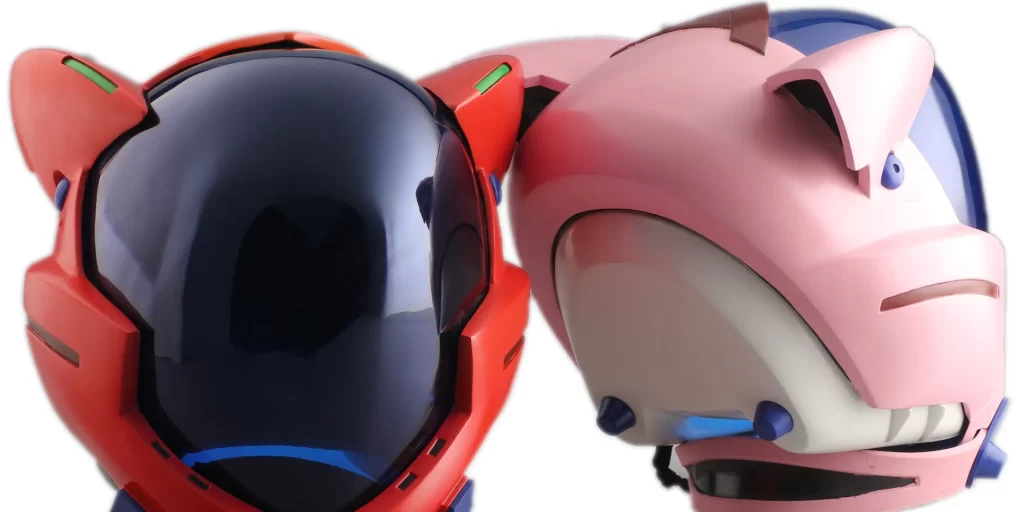
Finishing Touches: Painting and Sealing
After assembling your masterpiece, the final step is painting and sealing. This process not only enhances the appearance but also increases the durability of your foam pieces.
What’s Next?
The possibilities with EVA Foam are endless. From creating a simple shoulder piece to complex armor, the techniques you’ve learned here can be applied to a multitude of projects. So, what are you waiting for? Dive into the world of EVA Foam and unleash your creativity!