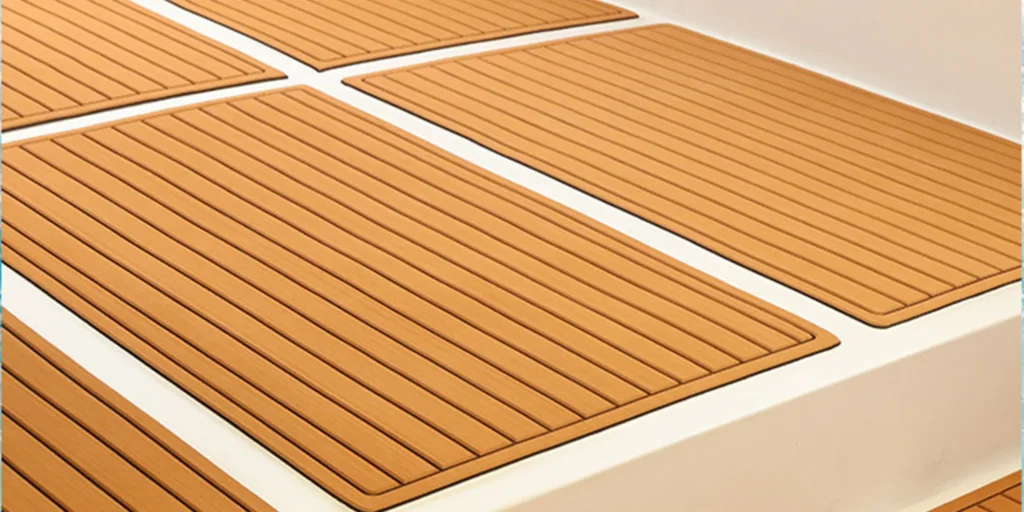
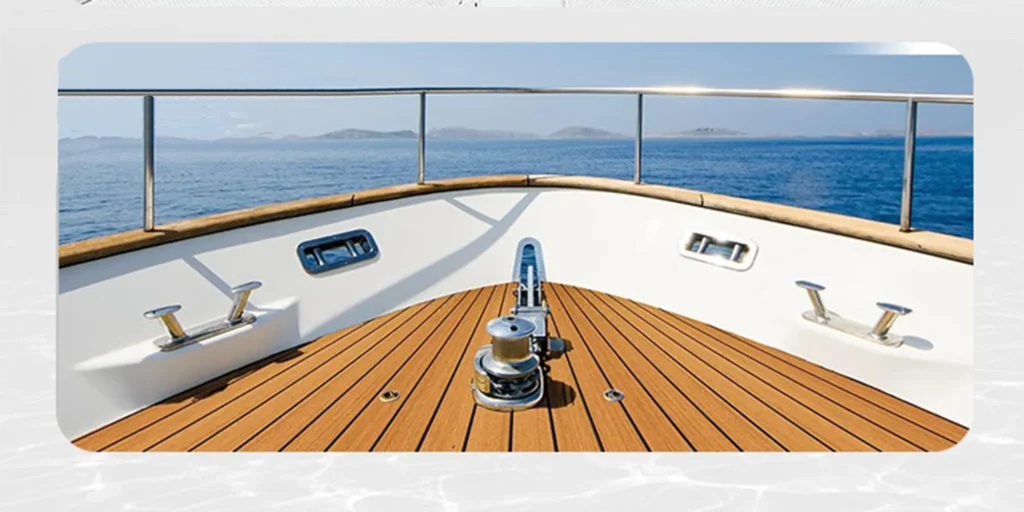
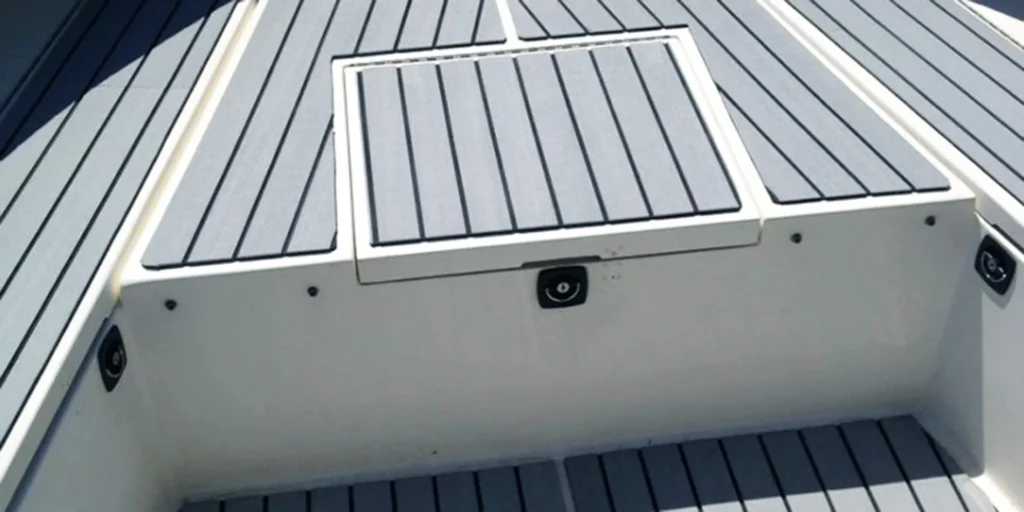
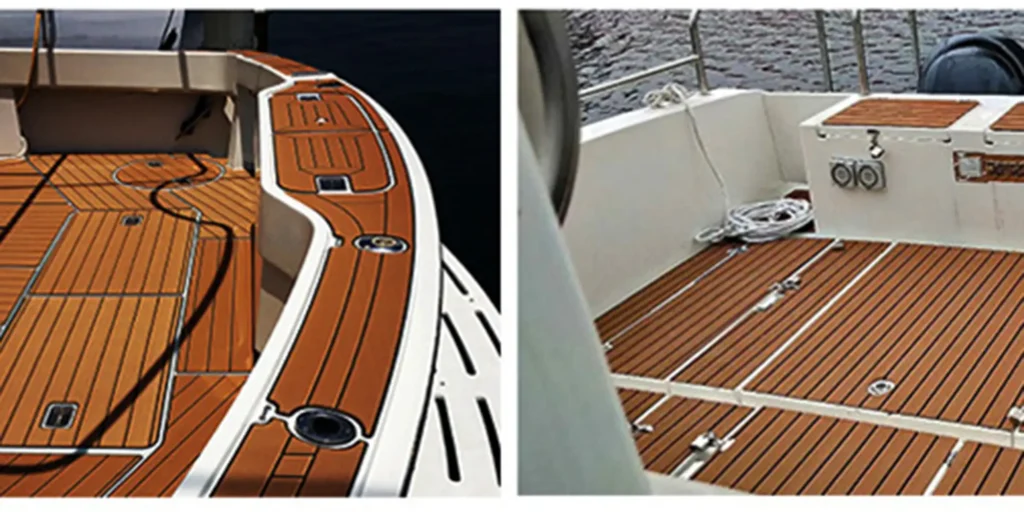
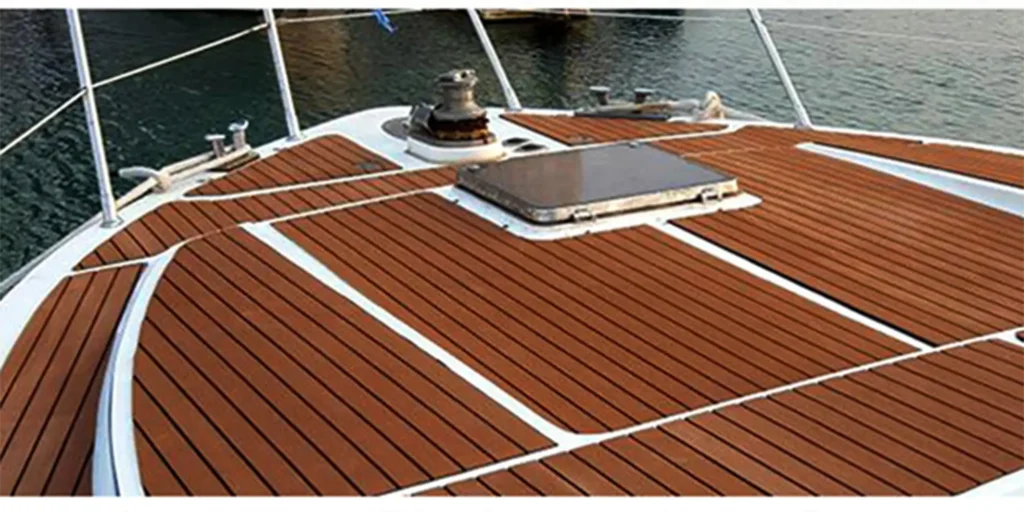
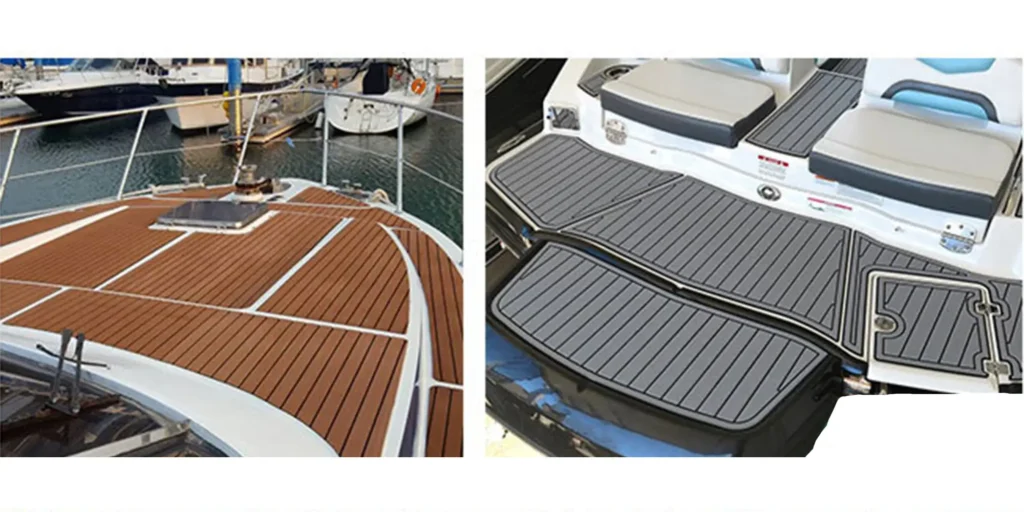
Installing EVA foam flooring on your boat is a great way to enhance comfort, durability, and aesthetics. EVA foam is popular among boat owners due to its non-slip surface, UV resistance, and water-resistant properties. Whether you’re upgrading your boat flooring or replacing old mats, proper installation ensures long-lasting performance. This step-by-step guide provides tips and techniques for a successful installation of EVA foam boat flooring.
Why Choose EVA Foam Boat Flooring?
Before diving into the installation process, it’s important to understand why EVA foam flooring is an ideal choice for boat surfaces. EVA (Ethylene Vinyl Acetate) foam is known for several key advantages:
- Non-slip surface: Provides excellent traction even when wet, making it a safe option for boat decks.
- Comfort: EVA foam offers cushioning underfoot, reducing fatigue during long periods of standing.
- Durability: It is resistant to water, UV rays, and harsh weather conditions, ensuring longevity in marine environments.
- Easy Maintenance: Simple to clean with water and soap, and resists mold and mildew growth.
- Customizable: Comes in various colors, patterns, and thicknesses to match your boat’s design.
Now that you know why EVA foam is a top choice for boat flooring, let’s move on to the installation process.
Tools and Materials Needed
Before starting the installation, gather the necessary tools and materials to ensure a smooth process. Here’s what you’ll need:
- EVA foam boat flooring sheets or mats
- Tape measure
- Cutting knife (utility knife or a sharp blade)
- Straight edge or ruler
- Marker or pencil
- Adhesive (marine-grade or peel-and-stick backing if applicable)
- Roller or flat tool for smoothing out the mats
- Cleaning supplies (soap, water, and cloth)
Step 1: Measure the Boat Deck
Accurate measurements are critical for a perfect fit. Start by measuring the surface area where the EVA foam flooring will be installed. Pay attention to irregular shapes or corners, and take note of any obstructions like hatches, railings, or seats.
- Use a tape measure to record the length and width of the deck.
- For curved or irregular sections, create a paper or cardboard template that matches the exact shape of the deck area.
- Keep track of the dimensions and write them down for reference during the cutting process.
Step 2: Prepare the Surface
Before installing the foam mats, make sure the boat deck surface is clean and dry. A clean surface ensures proper adhesion of the EVA foam and prevents any bumps or uneven areas from forming.
- Remove old flooring, dirt, grease, and any other debris.
- Use a mild soap and water solution to clean the surface, then let it dry completely.
- If necessary, use a degreaser to remove oil or wax buildup that could interfere with the adhesive.
Step 3: Cut the EVA Foam Sheets to Size
Once the deck is measured and the surface is prepped, it’s time to cut the EVA foam sheets to match the shape of your boat deck.
- Lay the EVA foam sheets flat on a clean surface.
- Using your measurements (or template for irregular shapes), mark the cutting lines on the foam sheets with a marker or pencil.
- With a sharp utility knife, carefully cut along the marked lines. Use a straight edge to ensure straight cuts.
- For rounded corners or intricate shapes, take your time and make small, precise cuts.
Step 4: Apply Adhesive to the Deck
Many EVA foam flooring options come with peel-and-stick adhesive backing, but if your foam sheets don’t, you’ll need to apply marine-grade adhesive manually.
- If using a peel-and-stick product, peel off the protective backing gradually as you apply the foam to the deck.
- For non-peel-and-stick options, apply a thin layer of marine-grade adhesive to the deck surface.
- Start from one side of the deck and work your way across, pressing the foam firmly into place.
Pro Tip: Avoid rushing this step. Working in small sections helps prevent air bubbles from forming under the foam.
Step 5: Smooth Out the Foam and Remove Air Bubbles
After applying the foam to the deck, use a roller or a flat tool to smooth out the surface and remove any air bubbles. Start from the center and work towards the edges, applying consistent pressure to ensure a strong bond between the foam and the deck.
- Roll over the entire foam sheet with a firm, steady motion.
- Pay extra attention to corners and edges, making sure they adhere properly without lifting.
Step 6: Allow Time for Adhesive to Cure
If you’re using marine-grade adhesive, it’s important to allow adequate time for the adhesive to cure. This usually takes around 24-48 hours depending on the specific adhesive used. Follow the manufacturer’s instructions for curing time before exposing the deck to water or heavy foot traffic.
Step 7: Inspect and Trim Excess Foam
Once the foam is securely in place and the adhesive has cured, inspect the installation for any areas that may need additional trimming or adjustment.
- Check for any excess foam that overlaps the edges of the deck or obstructs boat components.
- Use your utility knife to carefully trim away any excess material, ensuring a neat and polished finish.
Maintenance Tips for EVA Foam Boat Flooring
To keep your EVA foam boat flooring in top condition, follow these simple maintenance tips:
- Regular Cleaning: Clean the foam mats with mild soap and water to remove dirt, salt, and stains. Avoid harsh chemicals or abrasive brushes.
- UV Protection: While EVA foam is UV-resistant, prolonged exposure to direct sunlight can still cause fading over time. Consider using a UV-protective spray for added protection.
- Check for Lifting Edges: Periodically inspect the edges and corners of the foam mats to ensure they remain firmly adhered. Reapply adhesive if any areas begin to lift.
Installing EVA foam flooring on your boat is a straightforward process that can significantly improve your boat’s safety, comfort, and appearance. By following this step-by-step guide and taking the time to properly measure, cut, and apply the foam, you’ll enjoy the benefits of durable, non-slip flooring for years to come. With easy maintenance and long-lasting performance, EVA foam boat flooring is a smart investment for any boat owner.
FAQ: EVA Foam Boat Flooring Installation
1. Can I install EVA foam boat flooring by myself?
Yes, EVA foam boat flooring can be a DIY project if you follow the proper steps. Accurate measurements, cutting, and ensuring a clean surface are key to successful installation.
2. How do I remove air bubbles after installing EVA foam?
Use a roller or flat tool to smooth out the foam, starting from the center and pushing toward the edges. Apply firm pressure to eliminate any air bubbles trapped under the foam.
3. What type of adhesive should I use for EVA foam flooring?
If the foam doesn’t come with a peel-and-stick backing, use a marine-grade adhesive for long-lasting adhesion in a wet environment.
4. Can EVA foam flooring withstand UV exposure?
EVA foam is UV-resistant, but prolonged exposure to direct sunlight can still cause fading over time. Consider using UV-protective sprays for additional protection.
5. How do I maintain EVA foam boat flooring?
Regularly clean the foam with mild soap and water. Avoid using harsh chemicals. Inspect for any lifting edges and reapply adhesive if needed to keep the foam securely in place.
#BoatLife #EVAFoam #MarineFlooring #DIYBoat #BoatRenovation #BoatUpgrade #NonSlipDeck #BoatingSafety #MarineAdhesive #BoatDecking
WELLE Trade has over 20 years of experience in the production and processing of PE/EVA/TPE foams, so you may want to consult with them if you have any sourcing needs.
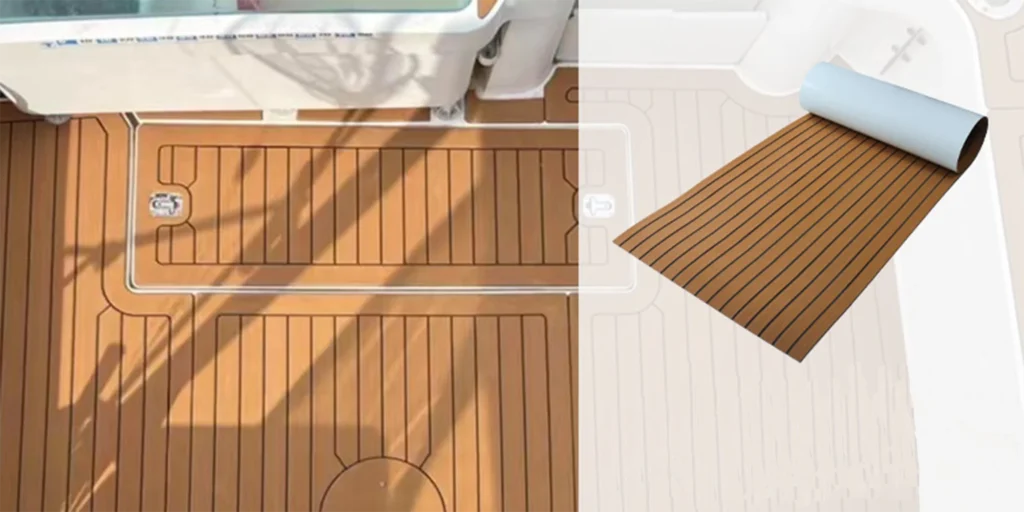
I have a roll of Eva Foam. How do I get it the roll flat before laying out my pattern pieces. I HAVE ROLLED IT ALL OUT ON THE FLOOR BUT IT DOES NOT ROLL OUT FLAT ON MY CUTTING TABLE.
If a rolled EVA foam material fails to lay flat after being unrolled, the possible reasons could be that the product’s elasticity is insufficient, due to a reduction in the proportion of elastic particles during production to cut costs. Another possibility is that the foaming process was uneven during the manufacturing, leading to an uneven distribution of elastomers within the material.